
.webp)
Top things to know about taking photos of your design projects with your phone:
Taking nice photos of your design projects for your portfolio is an important (and fun!) part of the overall design process. With the glory days of technology, it’s never been easier to create beautiful and professional photos without expensive gear. In fact, all you need is your phone’s camera and our 6-step guide to interior photography to get started.


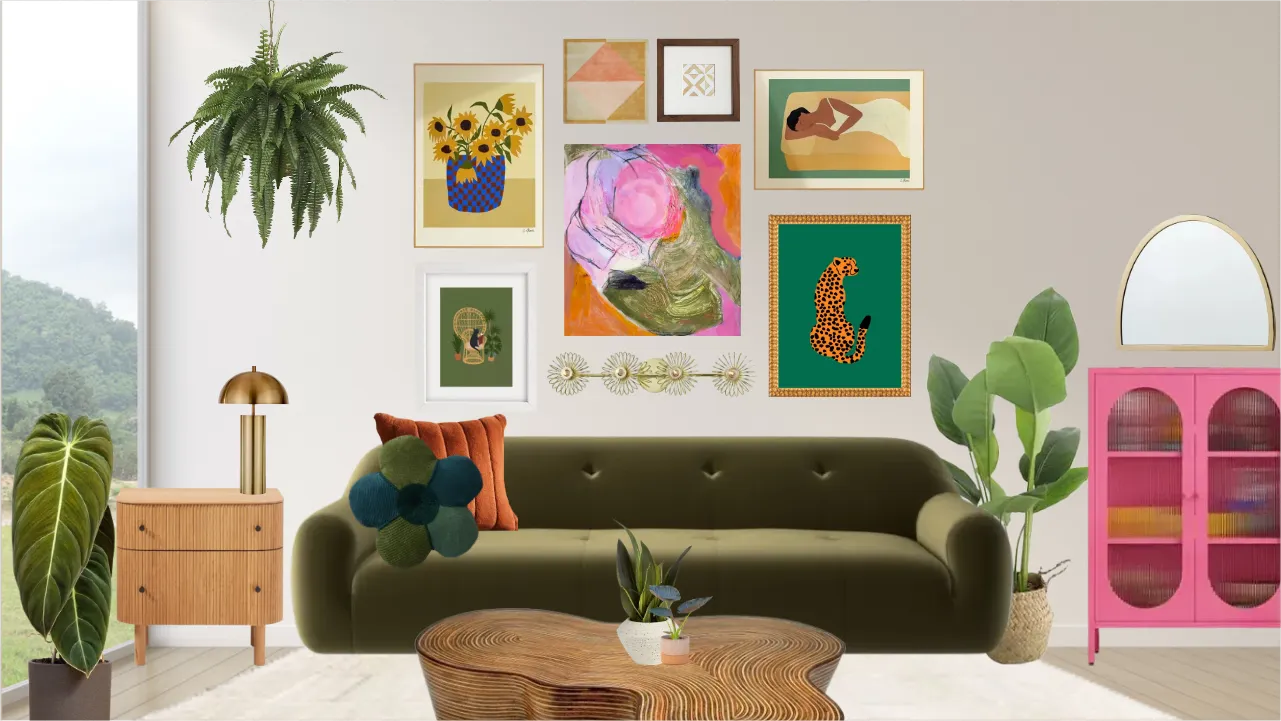
Before you get started, you’ll need to find your subject matter. There are a few things you’ll want to consider when thinking about which pieces you want to photograph in a space: Contrast, color, and shape. Let’s start with color. You’ll want to consider contrast and how colors work together in your space. For example, if your living room walls are all ivory and neutral, you’ll want to make sure the items you’re photographing it against are brighter to create a sharp contrast between the two tones. If you were to photograph a yellow or ivory-colored piece of furniture in front of an ivory wall, your subject would end up blending together with the background color. See where we’re going with this?
When it comes to shape, try playing with bold, simple-shaped pieces. Avoid choosing pieces that have a lot of detail—(although amazing through the human eye) these pieces can sometimes read as cluttered when photographed. Pro-tip: You can also try incorporating oversized items as they will read clearly and be defined in the photo.
Every space or photograph should have a focal point; this is what will give the rest of your process direction.
For instance, if you have an amazing vase you’d like to highlight as your focal point, everything else in your photo should support that one piece. This sometimes requires taking out other little knick-knacks that will clutter the photo. Also, if you have another focal point piece that seems to be fighting for the spotlight, it’s best to remove it.
You’ll want to make sure that the area you are photographing is styled, staged, and cleaned before you start taking pictures to save time and energy when editing. If you’re photographing a living room, make sure your sofa is clean and the rug is vacuumed. If it’s a bedroom, make sure to clean off all the mirrors in the room. You get the picture! There is only so much editing you can do to a photo to fix the things in it. It’s also much easier to do this in person than on your phone—believe us!
Interior styling is really your moment to shine as a designer and show your personal style. Have fun with it! While everyone might have their own styling best practices, we have a few tried and true designer-approved tips that can help support your photos, no matter what your style is.
One of our most utilized tips is to move things further away from each other than you think. Sometimes the way we have things set up in real functional spaces doesn’t always photograph the same way. Try playing with the spacing of the items to give them room to breathe in your photograph. For example, you can try pulling the chairs out from the table or separating the side table and your sofa. Another quick and easy tip is to play with light and use it to your advantage! Shadows and magic hour can be, well… magic.
It’s time to get the shot! Before you start photographing anything, make sure to wipe off your camera lens. You’d be surprised how big of a difference that can make. Next, when you’re looking through your phone at what you are about to photograph, try tapping on the screen into the light and dark areas to see how your phone will change the brightness. You don’t want anything to be blown out. A good photo is all about the lighting! Make sure you’re getting a lot of different angles in your shots too. You’re going to want variety when you’re choosing your favorites.
There are so many different editing apps out there. Our favorite ones are VSCO, Photoshop Express, and (for certain occasions) Instagram. They’re all great for different reasons, and sometimes we like to combine using all three of them before we share them with our internet friends.
VSCO is where we start and do most of our editing. They have filters you can play with, but we usually focus on these main functions in the app:
After saving the photo from VSCO, you can jump into Photoshop Express if you need a little extra touch-up. We like using this app’s bandage tool to tap on “blemishes” and watch them disappear. Once you’re ready to upload to Instagram, you can make any final tweaks before posting. We mostly utilize the exposure, warmth, and sharpen tools here.
And there you have it! With these six tips, you’ll be well on your way to taking amazing photos with your phone. Play around with our recommendations, master your styling technique, and mess around with different layouts and different lighting. But most importantly, just have fun with it and make it your own!

Top things to know about taking photos of your design projects with your phone:
Taking nice photos of your design projects for your portfolio is an important (and fun!) part of the overall design process. With the glory days of technology, it’s never been easier to create beautiful and professional photos without expensive gear. In fact, all you need is your phone’s camera and our 6-step guide to interior photography to get started.
Before you get started, you’ll need to find your subject matter. There are a few things you’ll want to consider when thinking about which pieces you want to photograph in a space: Contrast, color, and shape. Let’s start with color. You’ll want to consider contrast and how colors work together in your space. For example, if your living room walls are all ivory and neutral, you’ll want to make sure the items you’re photographing it against are brighter to create a sharp contrast between the two tones. If you were to photograph a yellow or ivory-colored piece of furniture in front of an ivory wall, your subject would end up blending together with the background color. See where we’re going with this?
When it comes to shape, try playing with bold, simple-shaped pieces. Avoid choosing pieces that have a lot of detail—(although amazing through the human eye) these pieces can sometimes read as cluttered when photographed. Pro-tip: You can also try incorporating oversized items as they will read clearly and be defined in the photo.
Every space or photograph should have a focal point; this is what will give the rest of your process direction.
For instance, if you have an amazing vase you’d like to highlight as your focal point, everything else in your photo should support that one piece. This sometimes requires taking out other little knick-knacks that will clutter the photo. Also, if you have another focal point piece that seems to be fighting for the spotlight, it’s best to remove it.
You’ll want to make sure that the area you are photographing is styled, staged, and cleaned before you start taking pictures to save time and energy when editing. If you’re photographing a living room, make sure your sofa is clean and the rug is vacuumed. If it’s a bedroom, make sure to clean off all the mirrors in the room. You get the picture! There is only so much editing you can do to a photo to fix the things in it. It’s also much easier to do this in person than on your phone—believe us!
Interior styling is really your moment to shine as a designer and show your personal style. Have fun with it! While everyone might have their own styling best practices, we have a few tried and true designer-approved tips that can help support your photos, no matter what your style is.
One of our most utilized tips is to move things further away from each other than you think. Sometimes the way we have things set up in real functional spaces doesn’t always photograph the same way. Try playing with the spacing of the items to give them room to breathe in your photograph. For example, you can try pulling the chairs out from the table or separating the side table and your sofa. Another quick and easy tip is to play with light and use it to your advantage! Shadows and magic hour can be, well… magic.
It’s time to get the shot! Before you start photographing anything, make sure to wipe off your camera lens. You’d be surprised how big of a difference that can make. Next, when you’re looking through your phone at what you are about to photograph, try tapping on the screen into the light and dark areas to see how your phone will change the brightness. You don’t want anything to be blown out. A good photo is all about the lighting! Make sure you’re getting a lot of different angles in your shots too. You’re going to want variety when you’re choosing your favorites.
There are so many different editing apps out there. Our favorite ones are VSCO, Photoshop Express, and (for certain occasions) Instagram. They’re all great for different reasons, and sometimes we like to combine using all three of them before we share them with our internet friends.
VSCO is where we start and do most of our editing. They have filters you can play with, but we usually focus on these main functions in the app:
After saving the photo from VSCO, you can jump into Photoshop Express if you need a little extra touch-up. We like using this app’s bandage tool to tap on “blemishes” and watch them disappear. Once you’re ready to upload to Instagram, you can make any final tweaks before posting. We mostly utilize the exposure, warmth, and sharpen tools here.
And there you have it! With these six tips, you’ll be well on your way to taking amazing photos with your phone. Play around with our recommendations, master your styling technique, and mess around with different layouts and different lighting. But most importantly, just have fun with it and make it your own!
We are an online interior design studio for enthusiasts and professionals. Get a real-world design education, easy-to-use tools, job opportunities, and a tight-knit community. All levels welcome.
Join now
